AdobeStock 242520659

The Ultimate Guide: How to Winterise Your Motorhome

Contents

  1. Why winterising your motorhome is important
  2. Protecting the exterior
  3. Protecting the interior
  4. Plumbing
  5. Electrical systems
  6. Regular check-ups
  7. Post-winterisation

Once you’ve enjoyed the summer’s longer runs in your motorhome, and perhaps had a couple more short autumn breaks, your holidays for the year are probably over. You’re going to want to park up or put your vehicle into storage during the winter – but bear in mind it will be sitting unused for a relatively extended period of time. A time when the temperature will drop and your motorhome will be susceptible to all sorts of issues – amongst them, moisture, dampness and pests.

This edition of the rove! blog focuses on the process known as ‘winterisation’. This is a series of steps you can take to make sure your motorhome is prepared to handle the winter, and it covers both interior and exterior needs, preventing damage and ensuring you’ll be ready for the road when the warmer weather comes around.

Why winterising your motorhome is important

Winter, perhaps not surprisingly, can be particularly hard on vehicles – and motorhomes are no exception. The combination of low temperatures, increased moisture and vehicle inactivity can lead to multiple problems.

  • Moisture: Cold and damp air can lead to mould and mildew throughout the interior, affecting fabrics, flooring, surfaces and walls.
  • Pests: Motorhomes can provide an attractive winter shelter for rodents and insects, who can cause damage to upholstery, wires, and insulation.
  • Battery drainage and flat tyres: Batteries can drain if left unattended, and tyres may lose pressure or even warp.
  • Freezing pipes: Water expands when frozen, and this can crack pipes, tanks and other plumbing system parts.

By addressing each of these concerns during the winterisation process, you protect your investment and avoid costly repairs.

Protecting the exterior

The outside of your motorhome is the first line of defence against winter conditions. Properly protecting it will minimise wear and tear.

Clean and wax

Before you put the vehicle into storage for the winter, a thorough clean will help to prevent dirt, salt, grime and bird mess from damaging the finish. There are further steps once you’ve washed, rinsed and dried the exterior bodywork.

  • Wax: Applying a protective wax to the exterior of your motorhome will act as a shield against moisture, and therefore help prevent rust and corrosion.
  • Seals and joints: Check all windows, doors and roof joints for cracks or signs of wear. You should reseal any areas showing deterioration, as they could be inlets for water to seep into the motorhome interior over winter.
  • Cover: If your motorhome is not in covered storage (for instance, if it’s parked up on your drive rather than in your garage) then using a breathable cover is a good idea. It will help to prevent damage from snow, ice and UV exposure while also allowing air circulation.

Windows and vents

These are common entry points for moisture and pests.

  • Close and seal: Make sure that vents are tightly shut. Moisture can easily enter through even small gaps.
  • Insulate: For added protection, you could apply window covers or reflective insulation to prevent condensation from forming on the inside.

Tyres

Winter can cause your tyres to degrade if they’re not properly managed.

  • Pressure: Inflate tyres to the recommended pressure, and then rotate them occasionally by moving the motorhome forward or back so that it’s not sat on the same tyre spots. These steps will prevent flat spots which can develop if the motorhome sits stationary for months at a time.
  • Tyre jacks or blocks: Another method of alleviating tyre pressure and preventing flat spots is to elevate the motorhome using tyre jacks or blocks.
  • Wheel chocks and brake: Use chocks to stabilise the motorhome without engaging the parking brake, as having it on throughout the winter could cause the brakes to seize.

Protecting the interior

The motorhome interior is where damp, mould and pests can cause severe problems if they’re not properly managed during the winterisation process. Taking the following steps will help keep the interior in a decent condition through winter.

Cleaning and clearing

Giving everything a thorough clean will remove potential food sources (crumbs, fragments etc) and reduces the likelihood of odours developing over winter.

  • Fridge: Completely empty and then defrost your motorhome’s fridge and freezer. Once this has been done, clean the interior of it thoroughly, and leave the door(s) slightly open throughout the winter to prevent mould.
  • Food and drinks: You’ve cleared the fridge of food and drink, now go into the motorhome cupboards and remove absolutely everything edible – even sealed food items, some of which can attract rodents.
  • Wipe surfaces: Thoroughly clean down all worktops and kitchen surfaces, including the interior of cupboards plus their doors. Also clean the floors thoroughly, as crumbs can attract rodents and insects.

Moisture

One of the biggest threats to a motorhome interior during the winter is moisture. Condensation can lead to mould, mildew and even dangerous structural damage.

  • Dehumidifiers: These absorbers should be placed in strategic positions throughout the motorhome to control humidity.
  • Ventilation: Leave windows open slightly to ensure that there is some airflow through the motorhome, without letting in too much cold air.
  • Damp-proof sheets: Under mattresses and cushions, damp-proof sheets can prevent the build-up of condensation.

Upholstery and soft furnishings

Taking care of fabrics will reduce the risk of mould and mildew (and therefore help to prevent potentially serious damage).

  • Remove and store: Take cushions, throws, pillows, bedding and curtains out of the motorhome and store them in a dry environment with a temperate climate (ie. in your house, if possible).
  • Mattresses and cushions: If you have to leave these inside the motorhome, elevate them somehow to allow airflow and prevent condensation on surfaces which are in contact with cold floors or walls.

Pests

Insects and rodents (ie. mice and rats) can cause severe damage to a motorhome’s interior if steps are not taken to prevent their access.

  • Seal potential entry points: Look for any holes or gaps in walls, skirting etc, and tidily seal them with mesh or silicone.
  • Deterrents: Put mothballs or other similar deterrents inside the motorhome’s cupboards and under the furniture to discourage rodents.
  • Remove potential nesting materials: Clear out any soft materials, such as toilet paper, tissues or newspaper, which rodents like to use to build nests.

Plumbing

One of the most important things to do as part of a motorhome winterisation is dealing with water. Freezing temperatures can mean your vehicle is at risk of burst pipes and cracked tanks.

Draining the water system fully is essential to prevent freezing.

  • Open taps: Leave the kitchen and washroom taps fully open to allow water to drain through the system completely and relieve pressure on the pipework.
  • Drain water heater and boiler: Make sure the heater is cool before draining it. Check your motorhome manual for specific instructions on draining.
  • Empty the tank and lines: If the motorhome has an onboard water tank, empty it completely, as well as any external hoses or connections.

Antifreeze

Use motorhome-specific antifreeze to add extra protection.

  • Drains and toilets: Pour antifreeze into the sinks, shower and toilet to protect against freezing.
  • Water system: Some motorhome owners choose to pump antifreeze through the water lines to ensure they’re protected. This can be an effective solution if the motorhome is going to be stored in particularly cold areas.

Grey and black water

The grey and black water tanks should be emptied and prepared during the winterisation process to avoid damage.

  • Flush and empty: After emptying the tanks, flush them through with clean water to remove any residue.
  • Antifreeze: Pour a small amount of antifreeze into the grey and black water tanks to help prevent freezing.

Electrical systems

The electrical systems in a motorhome can be vulnerable to cold and vulnerable when not in regular use. Proper preparation will help avoid winter problems when you’re ready to use the vehicle again.

Disconnect batteries

Leaving batteries connected can lead to your motorhome having a flat battery when you come to use it again in the spring.

  • Turn off electronics: Ensure you have switched all lights and appliances to off, so that you prevent an accidental battery drain.
  • Remove or disconnect: Store batteries in a dry, cool place and you could also use a trickle charger to maintain them.
  • Solar panel(s): If you have a solar panel (or panels), make sure that they’re clean and that their controllers are working properly. You could disconnect them to avoid unnecessary charging in low sunlight.

Protect appliances

To make sure that any electrical components and appliances in the motorhome are safe over winter, take the following steps.

  • Remove sensitive devices: Take out any electronics or appliances that may be damaged by the cold and store them in your home.
  • Inspect for corrosion or loose connections: Check for any visible corrosion on terminals (especially around the battery) and clean if necessary.

Regular check-ups

Over the winter months, it is good practice to do regular checks and inspections on your motorhome, especially after periods of extreme weather. This will help you to discover problems early, and therefore be in with a better chance of dealing with them easily.

  • Moisture and condensation: Check inside the motorhome for any signs of water ingress or condensation, and air out the interior if needed.
  • Tyre pressure / battery health: Keeping the tyre pressure up and ensuring battery health can prevent issues when you come to use the motorhome again.
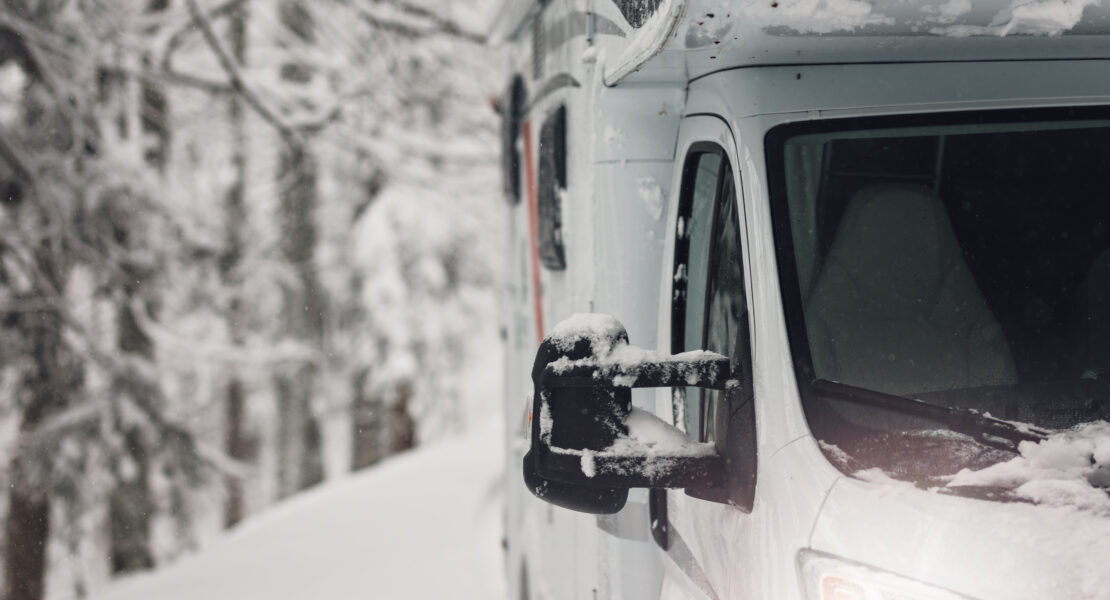
  • Snow and ice: If the motorhome is stored outdoors rather than put into garage storage, clear any heavy snow or ice build-up off the roof and around the tyres.

Post-winterisation

The winter is over, and the time has come to get your vehicle out of storage and back on the road. Is there anything you need to do? Yes! A few checks will make sure that everything is in good working order before you head back out on the road.

  • Water system: Running fresh water through all taps and lines to flush out any antifreeze or stale water will ensure water systems are fully functioning.
  • Batteries: Check all battery levels, and recharge, if necessary, then reconnect.
  • Tyres: Ensure tyre pressure is at the correct level and check that there aren’t any flat spots or cracks.
  • Appliances / systems: Ensure all the electrical and gas systems in the motorhome are working properly before you set off on your new season of trips!

Although the guide we’ve provided here is thorough and makes winterisation look like a massive task, the truth is that motorhomes are vulnerable over the winter season and the time you invest in winterising yours will help you keep your vehicle in top condition for longer, retain more of its potential resale value and be ready to use when the season changes back to full-on travelling time! In short: Take care now, less hassle later.